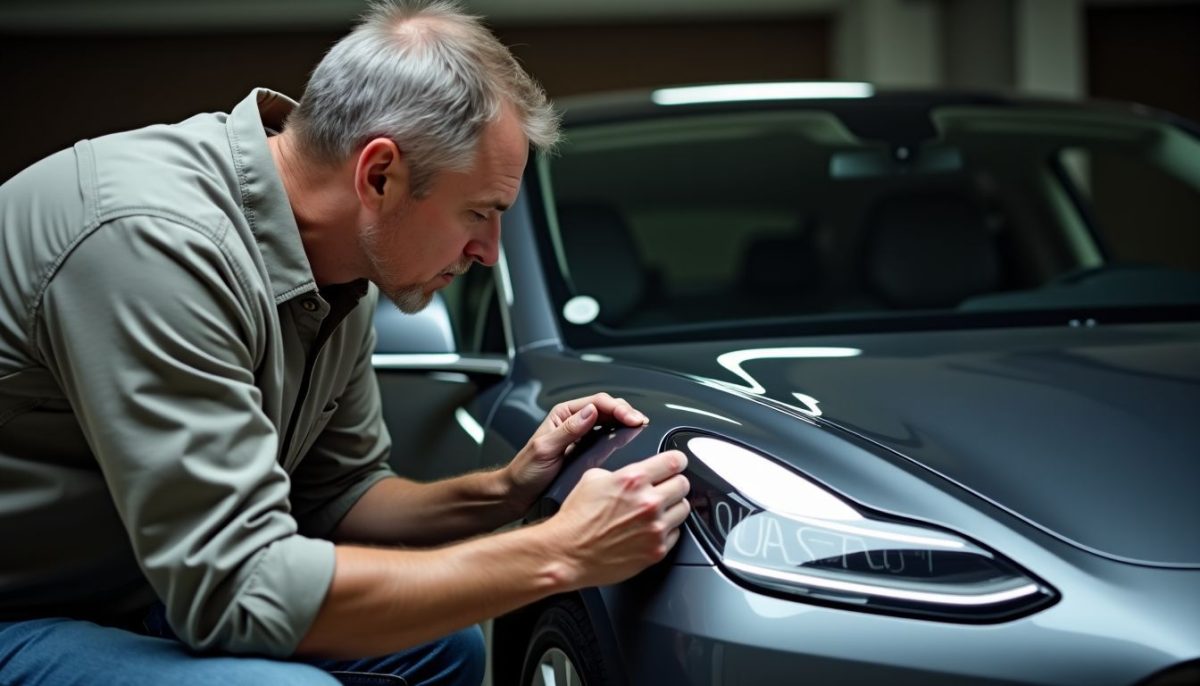
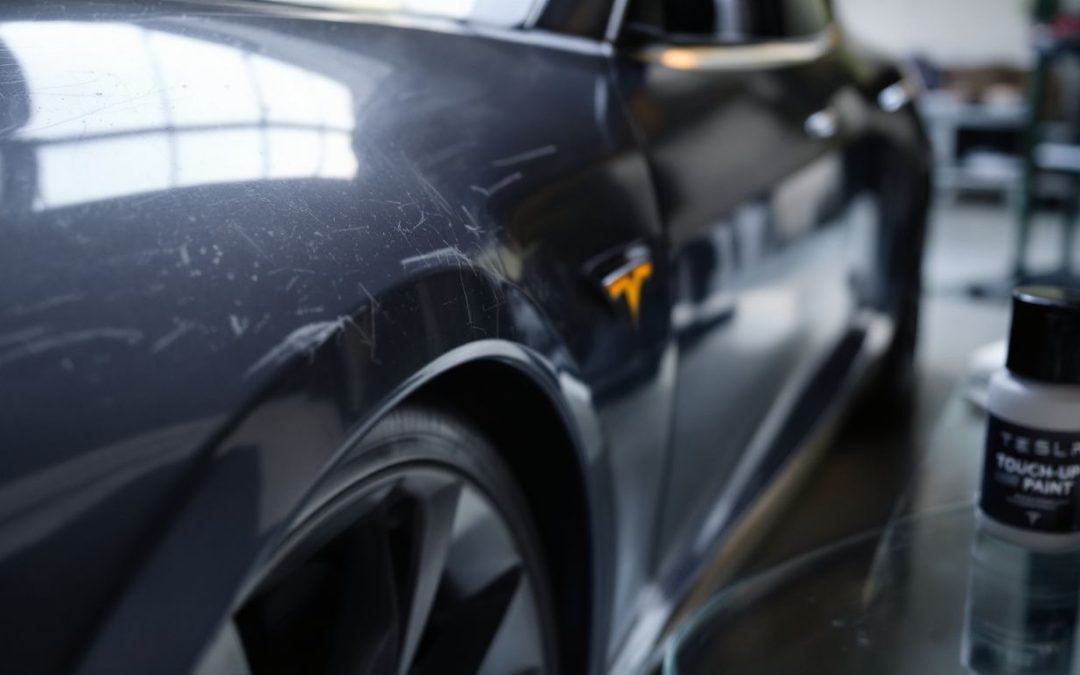
Scratches on your Tesla can be frustrating. Tesla Touch Up Paint fixes small chips and marks easily. This guide covers steps for Model S, Model X, and Model 3. Restore your car’s look today.
Key Takeaways
- Check the Scratch Depth
Look to see if the scratch is only on the clearcoat or goes deeper. This helps you decide to use a touch-up kit or get professional help.
- Gather the Right Materials
You need EVOOOR Touch-Up Paint, a microfiber cloth, 2000 grit sandpaper, masking tape, an applicator brush or pen, and clear coat. These help fix the scratch smoothly.
- Follow the Painting Steps
Clean and dry the area. Apply the paint with the fine-tip tool in thin layers. Let each coat dry for 15 minutes. After painting, let it cure for 24 hours.
- Works on All Tesla Models
The touch-up paint is perfect for Model 3, Y, S, X, and Cybertruck. It matches colors exactly and is rust resistant.
- Enjoy Extra Benefits
Free shipping is available on orders over $59. New subscribers can get up to 25% off. Customer support is available 24/7.
Assessing the Scratch

Start by checking if the scratch is only on the clearcoat or goes deeper into the paint. This helps you decide if you need a Tesla paint repair kit or professional help.
Understanding Light Scratches
Light scratches on your Tesla touch the clearcoat but don’t reach the aluminum surface. These minor marks often come from small paint chips or daily wear. They keep your car looking worn but don’t cause serious damage.
Using a Tesla paint repair kit with a perfect color match for all Tesla models, including Model 3, Y, S, and X, can fix these scratches. The kit includes a blending solution and is designed for exterior use on aluminum.
Apply the solid black (PBSB) mineral paint to restore your car’s finish and keep it rust resistant.
Evaluating Damage Severity
Inspect the scratch to see if it reaches the metal surface. Shine a flashlight at different angles to reveal depth. Measure the scratch’s length and width for precision. Identify the correct paint code to ensure an exact color match.
Look for any rust, benefiting from the paint’s rust-resistant feature. Utilize tools like ppfs for accurate assessment. Keep your garage organized for this task.
Proper evaluation ensures a flawless finish.
Proceed to preparing the surface for painting.
Preparing the Surface
Start by cleaning the area with a damp cloth and mild soap. Then, apply masking tape and lightly sand the surface—this ensures the paint sticks smoothly.
Cleaning the Area
Capture the scratch with your iOS device to evaluate the damage. Wash the area using warm, soapy water. Rinse thoroughly to remove all dirt. Dry the surface with a clean microfiber cloth.
Ensure no grease or debris remains. A spotless aluminum surface allows EVOOOR_TUPB paint to stick properly.
Necessary Materials for the Job
Gather these materials before you begin. This will make the touch-up process smooth.
- EVOOOR Touch-Up Paint
Solid Black (#000000), 0.41 Fl Oz, rust resistant
- Microfiber Cloth
Clean the scratch area thoroughly
- Fine Sandpaper
2000 grit to smooth the surface
- Masking Tape
Protect nearby paint from excess
- Applicator Brush or Pen
Apply the paint accurately
- Clear Coat
Optional, for added shine and protection
Applying Tesla Touch-Up Paint
Begin by applying the Tesla touch-up paint with the provided tool—this ensures precise coverage on the scratch. Allow each coat to dry fully before adding the next for a flawless finish.
Step-by-Step Application Process
Applying touch-up paint is easy. Follow these steps to fix your Tesla’s paint.
- Clean the Area
- Use soap and water to wash the scratched spot.
- Remove all dirt and grease with a soft cloth.
- Dry the Surface
- Wipe the area dry with a clean, lint-free towel.
- Ensure no moisture remains before applying paint.
- Prepare the Paint
- Shake the EVOOOR Mineral Touch-Up Paint tube well.
- Ensure the paint is mixed properly for a smooth application.
- Apply the Paint
- Use the fine-tip applicator to carefully cover the scratch.
- Apply a thin, even layer to match the Tesla’s paint.
- Let It Dry
- Allow the first coat to dry for 15 minutes.
- Check if the scratch is covered; apply a second coat if needed.
- Cure the Paint
- Let the paint cure for 24 hours.
- Avoid washing or exposing the area to weather during this time.
- Check Your Work
- Inspect the repaired area for even color and finish.
- Touch up again if necessary for a flawless look.
EVOOOR touch-up paint works on all Tesla models, including Model 3 (2017-2023), Model 3 Highland (2024+), Model Y, Model S, Model X, and Cybertruck. Enjoy free shipping worldwide on orders over $59. New subscribers can get up to 25% off. Need help? Customer support is available 24/7.
Conclusion
Keep your Tesla looking great by fixing scratches with touch-up paint. The kit includes color-matched paint, a micro brush, and a microfiber towel for easy use. Repair chips quickly to stop more damage and avoid costly fixes.
Enjoy free shipping on orders over $59 and a 30-day money-back guarantee. Maintain your Tesla’s shine with just a few simple steps.
FAQs
1. What materials are needed to apply Tesla touch up paint?
You need the correct Tesla paint color, a touch up pen or small brush, fine sandpaper, cleaning cloths, and masking tape. Having gloves and a well-lit workspace helps too.
2. How do I prepare my Tesla for touch up paint?
Start by cleaning the area with soap and water. Dry it completely. Use fine sandpaper to smooth any rough spots. Mask off the surrounding area to protect it from excess paint.
3. What is the step-by-step process for applying Tesla touch up paint?
First, clean and dry the area. Sand lightly to smooth the surface. Shake the touch up paint well. Apply the paint in thin layers, allowing each layer to dry. Finish with a clear coat if needed.
4. How can I ensure the touch up paint matches my Tesla’s color?
Use the exact paint code from your Tesla. Test the paint on a hidden spot before applying it. Apply thin layers and let each layer dry to match the original color and finish.

